
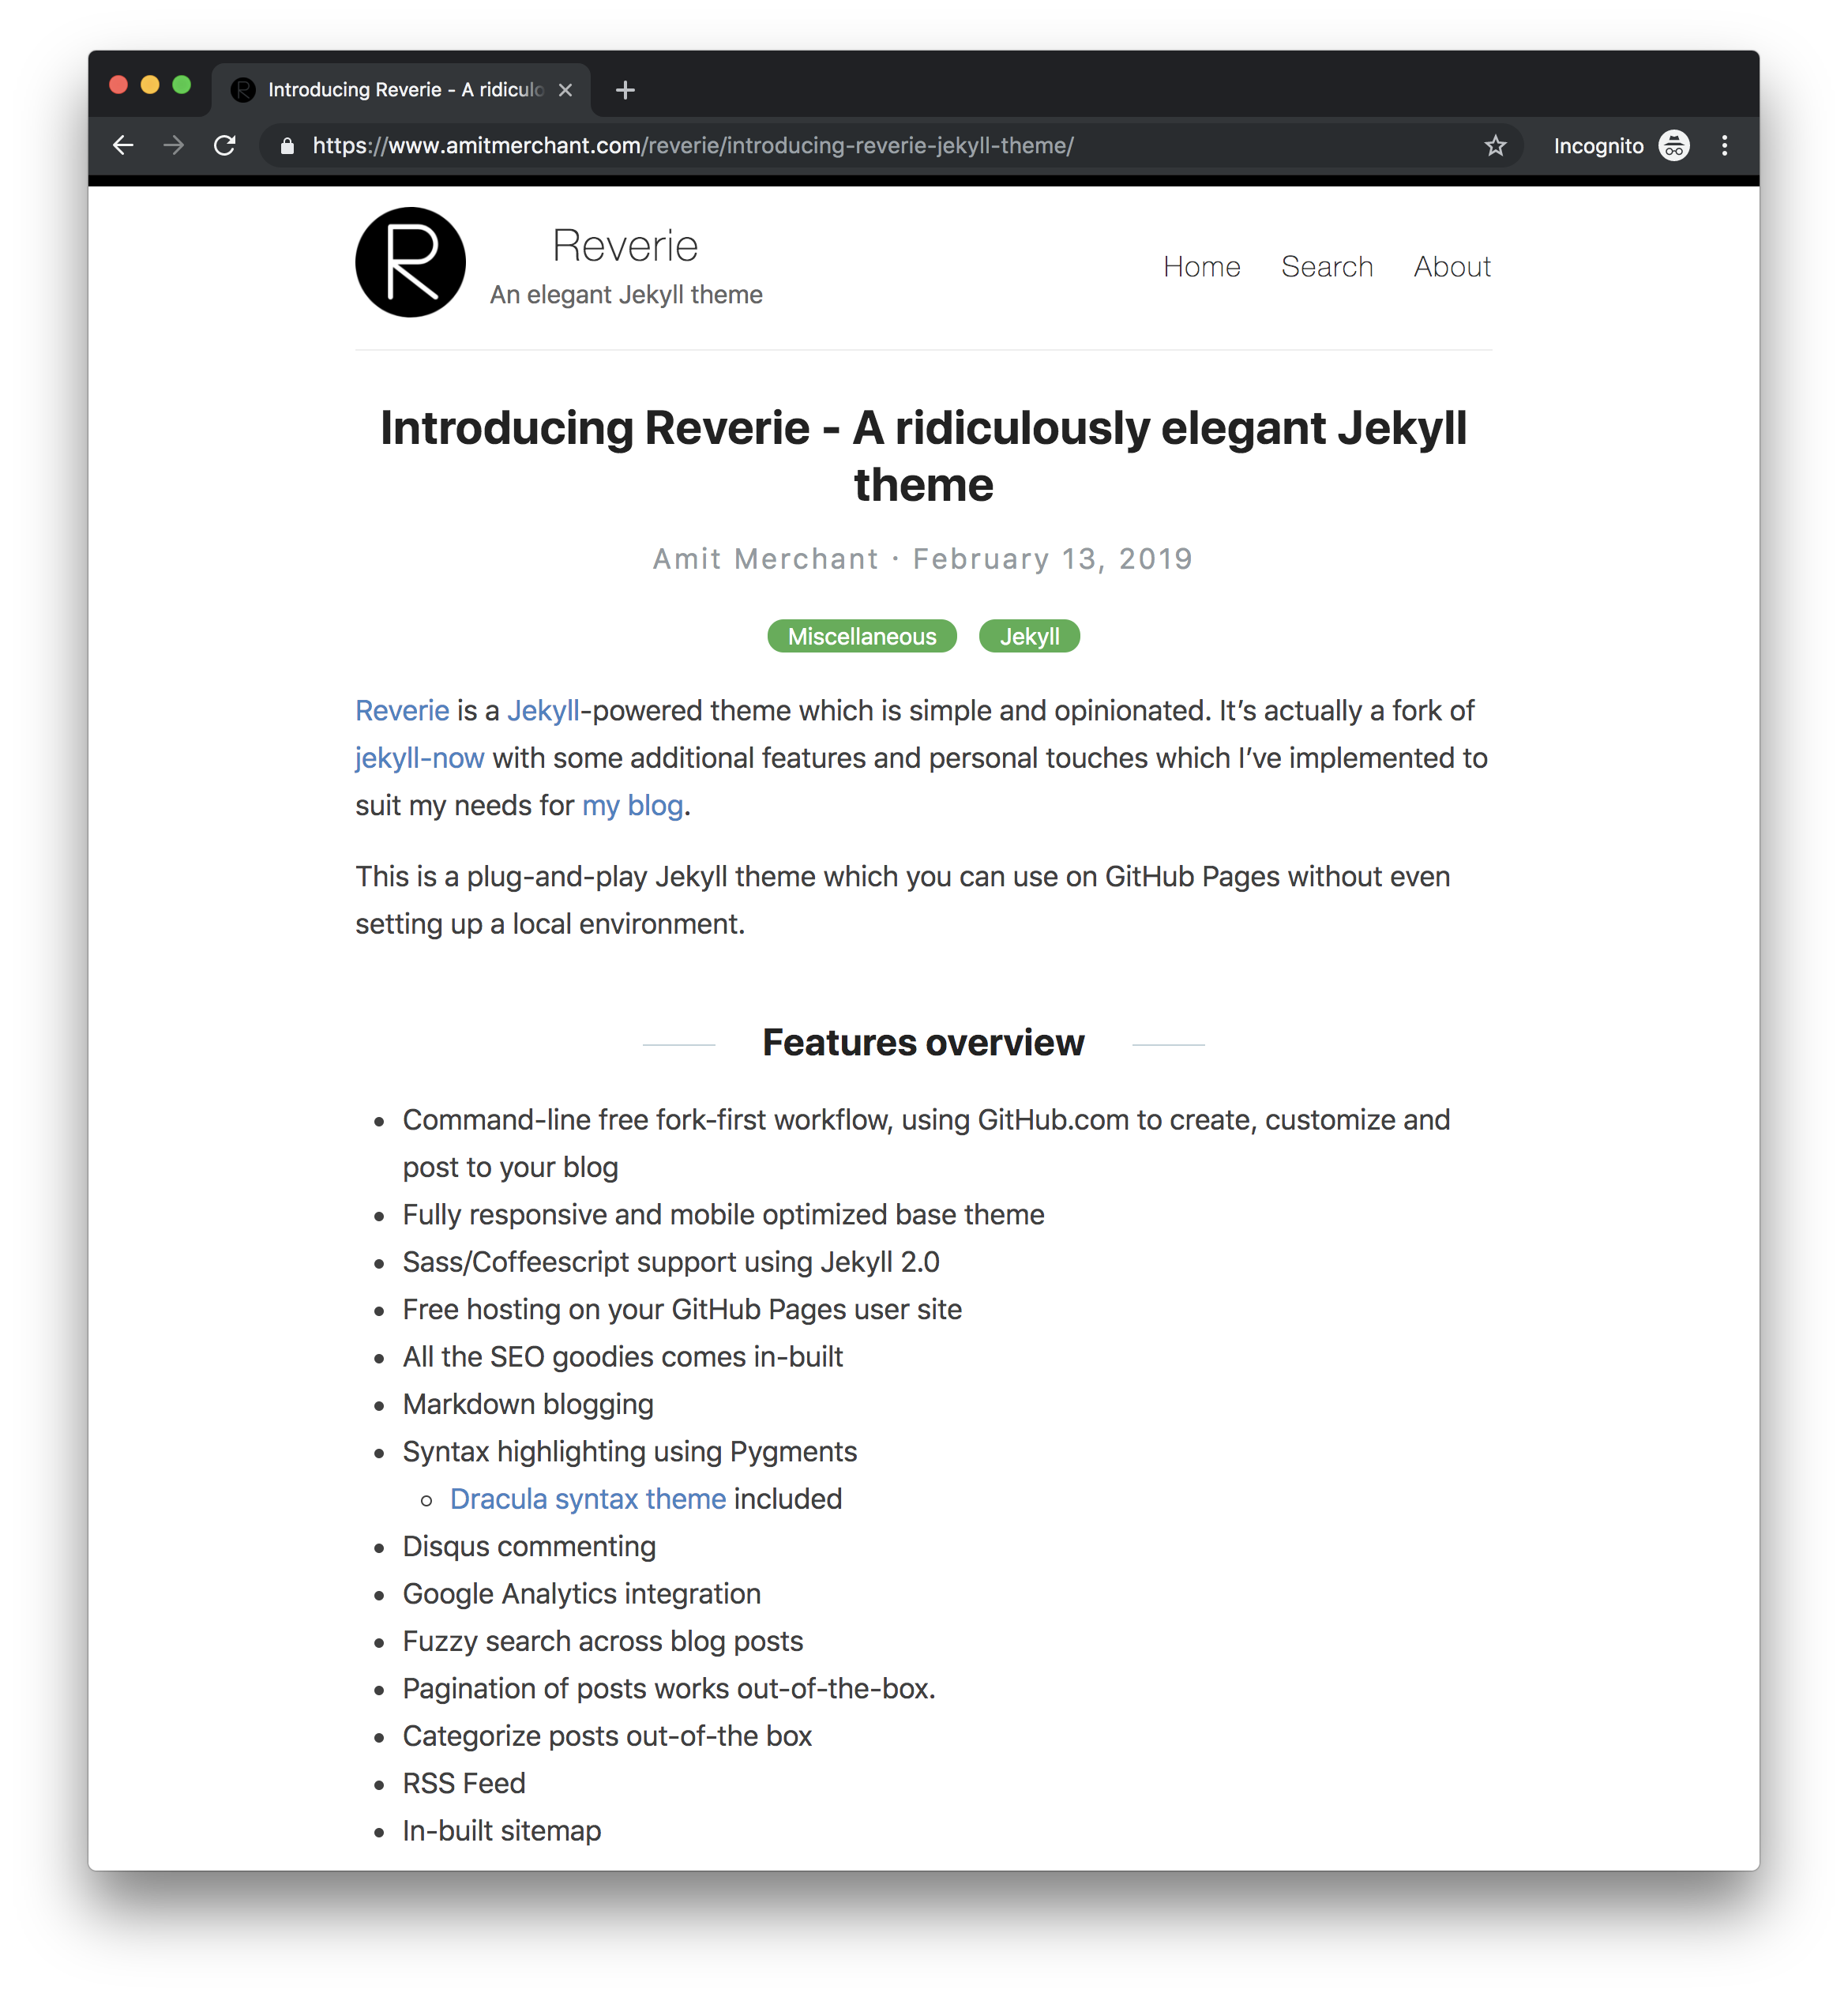
Reverie is a Jekyll-powered theme which is simple and opinionated. It’s actually a fork of jekyll-now with some additional features and personal touches which I’ve implemented to suit my needs for my blog.
This is a plug-and-play Jekyll theme which you can use on GitHub Pages without even setting up a local environment.
Features overview
- Command-line free fork-first workflow, using GitHub.com to create, customize and post to your blog
- Fully responsive and mobile optimized base theme
- Sass/Coffeescript support using Jekyll 2.0
- Free hosting on your GitHub Pages user site
- All the SEO goodies comes in-built
- Markdown blogging
- Syntax highlighting using Pygments
- Dracula syntax theme included
- Disqus commenting
- Google Analytics integration
- Fuzzy search across blog posts
- Pagination of posts works out-of-the-box.
- Categorize posts out-of-the box
- RSS Feed
- In-built sitemap
Using Reverie on GitHub Pages
Step 1) Fork Reverie to your User Repository
Fork this repository, then rename the repository to yourgithubusername.github.io.
Alternatively, you can use Use this template button if you want to create a repository with a clean commit history which will use Reverie as a template.
Your Jekyll blog will often be viewable immediately at https://yourgithubusername.github.io (if it’s not, you can often force it to build by completing step 2)
Step 2) Customize and view your site
Enter your site name, description, avatar and many other options by editing the _config.yml file. You can easily turn on Google Analytics tracking, Disqus commenting and social icons here.
Making a change to _config.yml (or any file in your repository) will force GitHub Pages to rebuild your site with jekyll. Your rebuilt site will be viewable a few seconds later at https://yourgithubusername.github.io - if not, give it ten minutes as GitHub suggests and it’ll appear soon.
Step 3) Publish your first blog post
Create a new file called /_posts/2019-2-13-Hello-World.md to publish your first blog post. That’s all you need to do to publish your first blog post! This Markdown Cheatsheet might come in handy while writing the posts.
You can add additional posts in the browser on GitHub.com too! Just hit the Create new file button in
/_posts/to create new content. Just make sure to include the front-matter block at the top of each new blog post and make sure the post’s filename is in this format: year-month-day-title.md
Using Categories in Reverie
You can categorize your content based on categories in Reverie. For this, you just need to add categories in front matter like below:
For adding single category:
categories: JavaScript
For adding multiple categories:
categories: [PHP, Laravel]
The contegorized content can be shown over this URL: https://yourgithubusername.github.io/categories/
RSS
The generated RSS feed of your blog can be found at https://yourgithubusername.github.io/feed. You can see the example RSS feed over here.
Sitemap
The generated sitemap of your blog can be found at https://yourgithubusername.github.io/sitemap. You can see the example sitemap feed over here.
License
MIT